I found a really cool open source 3D modelling software called FreeCAD. It’s cross platform and runs on Linux and Windows. I thought I should give it a try. Wow, it was so hard to do anything. I really had not seen this type of parametric modeller software before.
Then I found a tutorial on You Tube on how to model a bike frame. I watched it once then when I saw my approach was totally wrong and that it really was easy, I then followed along with the tutorial. I grasped the fundamentals very quickly and then I just knew I had to model the dome for my Ironside using it.
It actually did not take long to create the dome shape. The only thing that really slowed me down was that it crashed several times. The software is version 0.012 so it is sort of expected. However on the bright side, each time I redid the drawing it reinforced how things work in FreeCAD.
I saw that there are a lot of people that are creating armour with Pepakura so now I had a 3D dome I thought that I would give it a try.
The hardest part I had was outputting the STL file from FreeCAD into Pepakura. I went through about 3 conversions to finally get it into Pepakura. Of course I could not get Pepakura to work in Linux so I had to boot into Windows to run it. Because of all the conversions I ended up having an inside and an outside dome because I made a small mistake when creating a thickness for my dome but I ended up discarding the inside section as it was not needed.

Once in Pepakura I found that it was easy to configure and I had fun playing with the various tab features.
My dome is half scale and even then I printed out on six 8″x11″ pieces of paper.
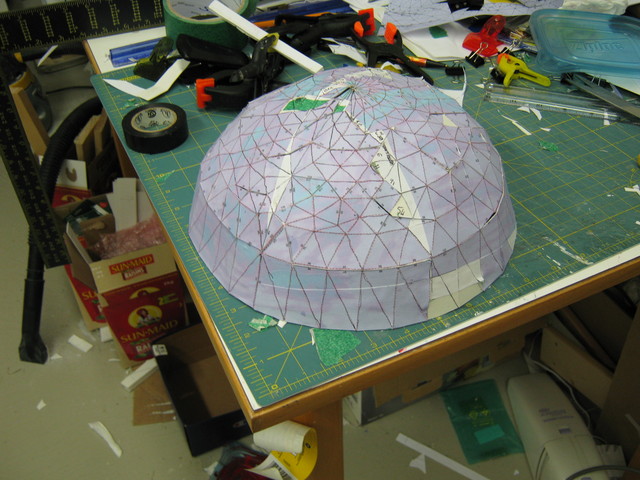
I carefully cut the paper and glued the printout to card so the markings made a cross where they touched. Then I left it to dry for about a week.

Then I started cutting out the pieces. Gradually I started gluing them all together with a fine smear of white glue.
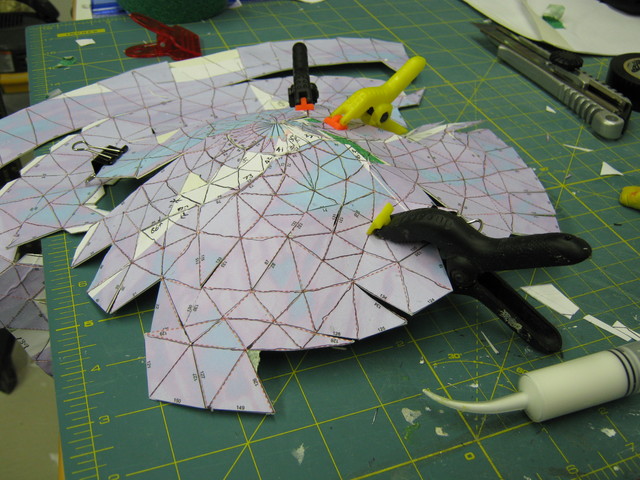
Cutting all the pieces took about 6 hours and because I left sections to dry it took about a week for the dome to rise completely from the flat pack.
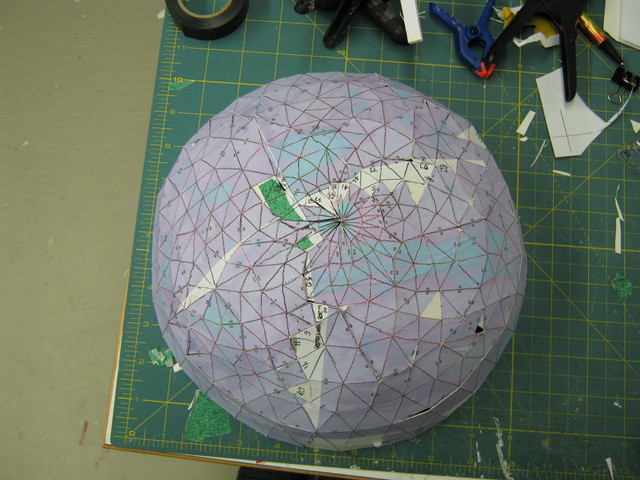
The dome colours ran because of the glue and it was printed on an ink-jet printer but this is not a big deal. The dome flexed quite a bit so inside of the dome has been reinforced with additional paper glued to the inside. It is now quite sturdy.
Next I need to add some thickness and smooth it out and add detail. Not sure how to do this yet.