I got the front and side perspex mounted and complete with magnets for holding in place and handles for opening and access to inside.
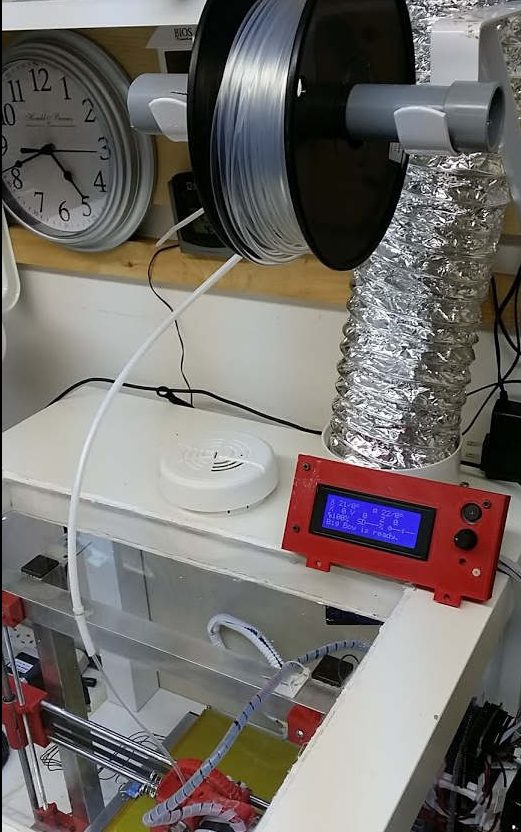
The next step was to power it all up and test.
I shuddered at the thought of all the configurations needed.
- New MK3 heated bed (Aluminum printed bed)
- New E3D V6 nozzle (size is different from V5)
- New thermistor for the V6 hot end
- New thermistor for the heated bed
I spent several hours looking at the old configuration I received with my printer and comparing to the new RAMPS options available. I configured everything I could including extrusion length.
At this point I felt it was time to print some sort of test. I chose the 5mm square calibration print from Thingiverse.
The test appeared to print perfect until it got to the top two layers of squares these appeared to be a molten ball. Turning down the extrusion speed improved the upper boxes on the second row but the top box appeared to look like a ball.
I decided to pursue alternative filament and maybe slicing with different parameters.

